


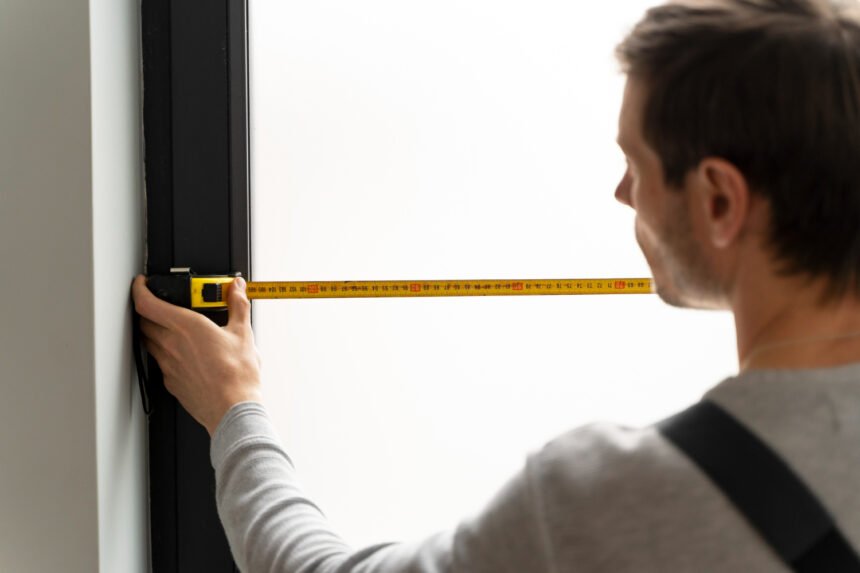
Getting a door measurement wrong can be expensive. A unit a few millimetres too big will not fit; one too small can leave gaps that never look right. Accurate measuring is mostly about method, not specialist skill.
In the UK, people usually say structural opening: the gap in the wall or studwork that a door frame or lining sits into. In the US, the same space is usually called the rough opening. This guide uses both terms, with metric and imperial figures.
Your door manufacturer’s instructions and local building regulations take priority. The examples below come from named guides, not universal formulas. If your product datasheet says something different, follow the datasheet.
What You Will Need (and Why)
You do not need a professional kit. A tape measure, a 1200 mm (4 ft) spirit level or plumb bob, a framing square, and a notebook cover most jobs. If replacing an existing door, add a utility knife and small pry bar so you can remove casing and see the studwork.
If finished flooring is not down, measure from the subfloor. Masonite’s exterior door guidance, for example, measures opening height from the subfloor rather than a temporary surface, so the figures still work when carpet, tile or boards go in.
Also Read : 10 Clutter-Free Home Ideas Every Busy Mom Needs
Before You Start: Know Your Scenario
Measuring changes slightly depending on what you are fitting. A replacement prehung or unitised door drops into an existing frame, a new lining sits inside fresh studwork, pocket and bifold systems need kit-specific openings, and exterior entry doors add a sill and threshold. Work out which applies before you pick up the tape.
What a Structural or Rough Opening Actually Includes
The opening is the framed space, not the door itself. Width is measured stud face to stud face. Height is measured from the subfloor to the underside of the header. The gap has to hold the frame or lining plus shim space, so it is always larger than the door slab.
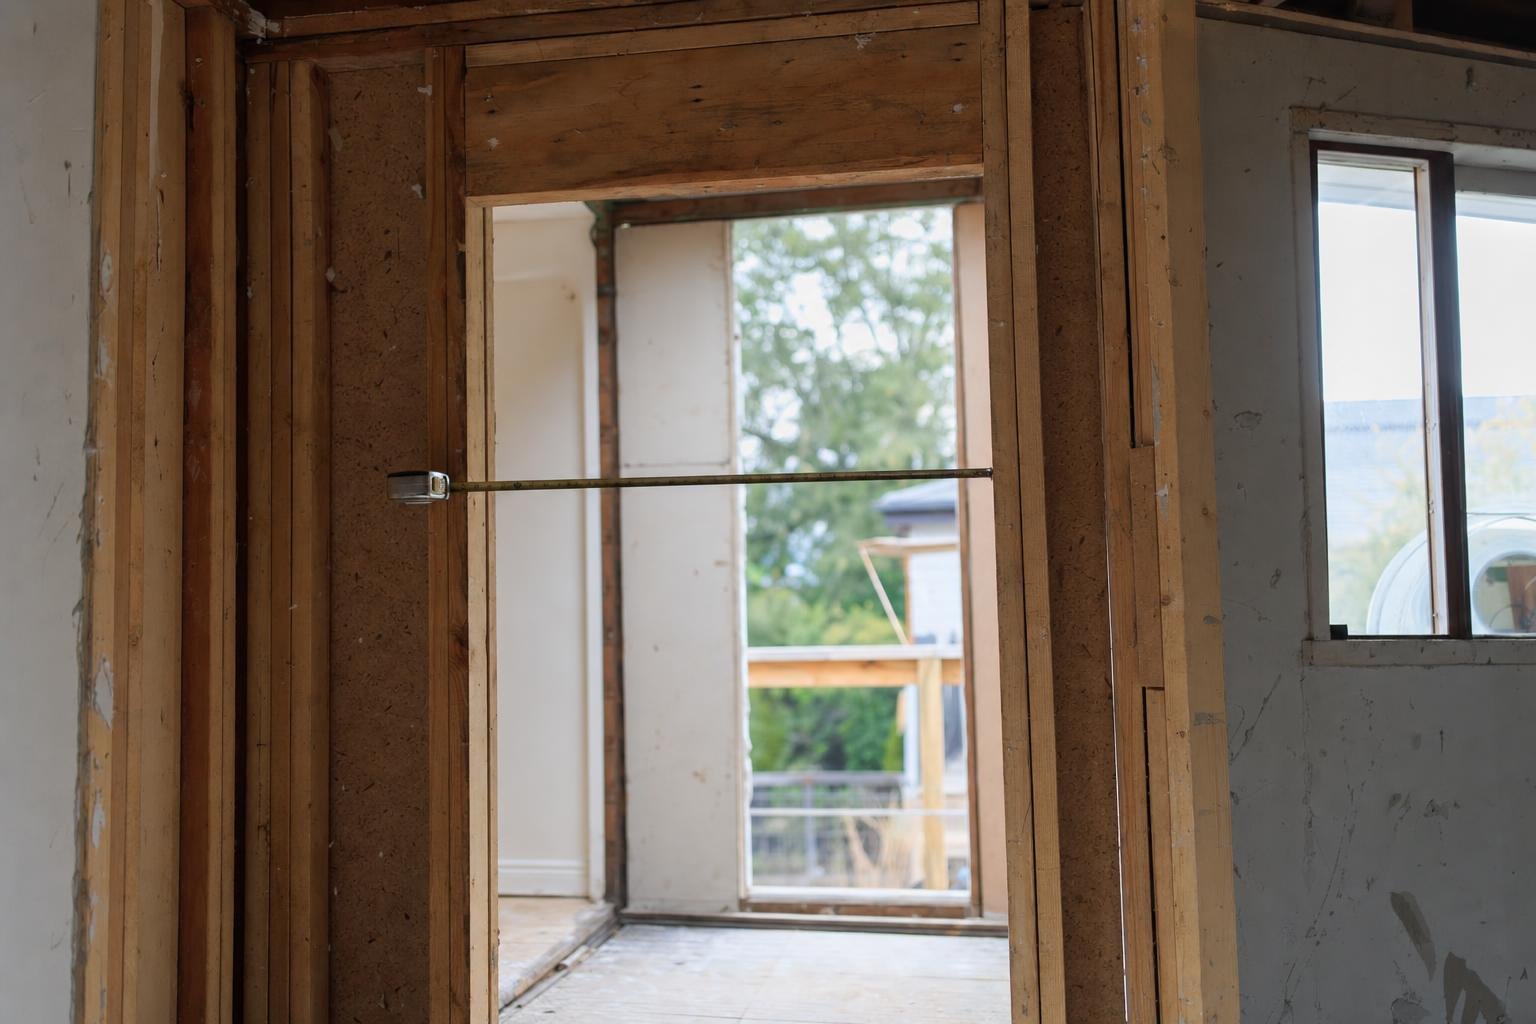
Two principles carry through every step: measure width and height at three points and use the smallest measurement. Lowe’s advises that method, and Masonite adds the reminder to record the smallest dimension measured on each side. This avoids ordering to a figure the opening cannot accept. For background reading, the US phrase door rough opening refers to this same stud-to-stud space before ordering a prehung unit.
Step 1: Expose the Opening Safely
If you are replacing a door, score along the casing with a utility knife so you do not tear the wall finish. Gently prise the casing away to reveal the studs and header. Before anything comes off, photograph or label the hinge and lock side so you can reorder the correct handing. Pella’s front-door guidance covers the same removal and prep sequence.
Step 2: Check Plumb, Level and Square
Put your level on the sill and on each side stud, also called the trimmers, to see whether the opening leans. Compare the two diagonals from corner to corner. If they match, the opening is square; if they differ, it is racked and may need shimming or adjustment.
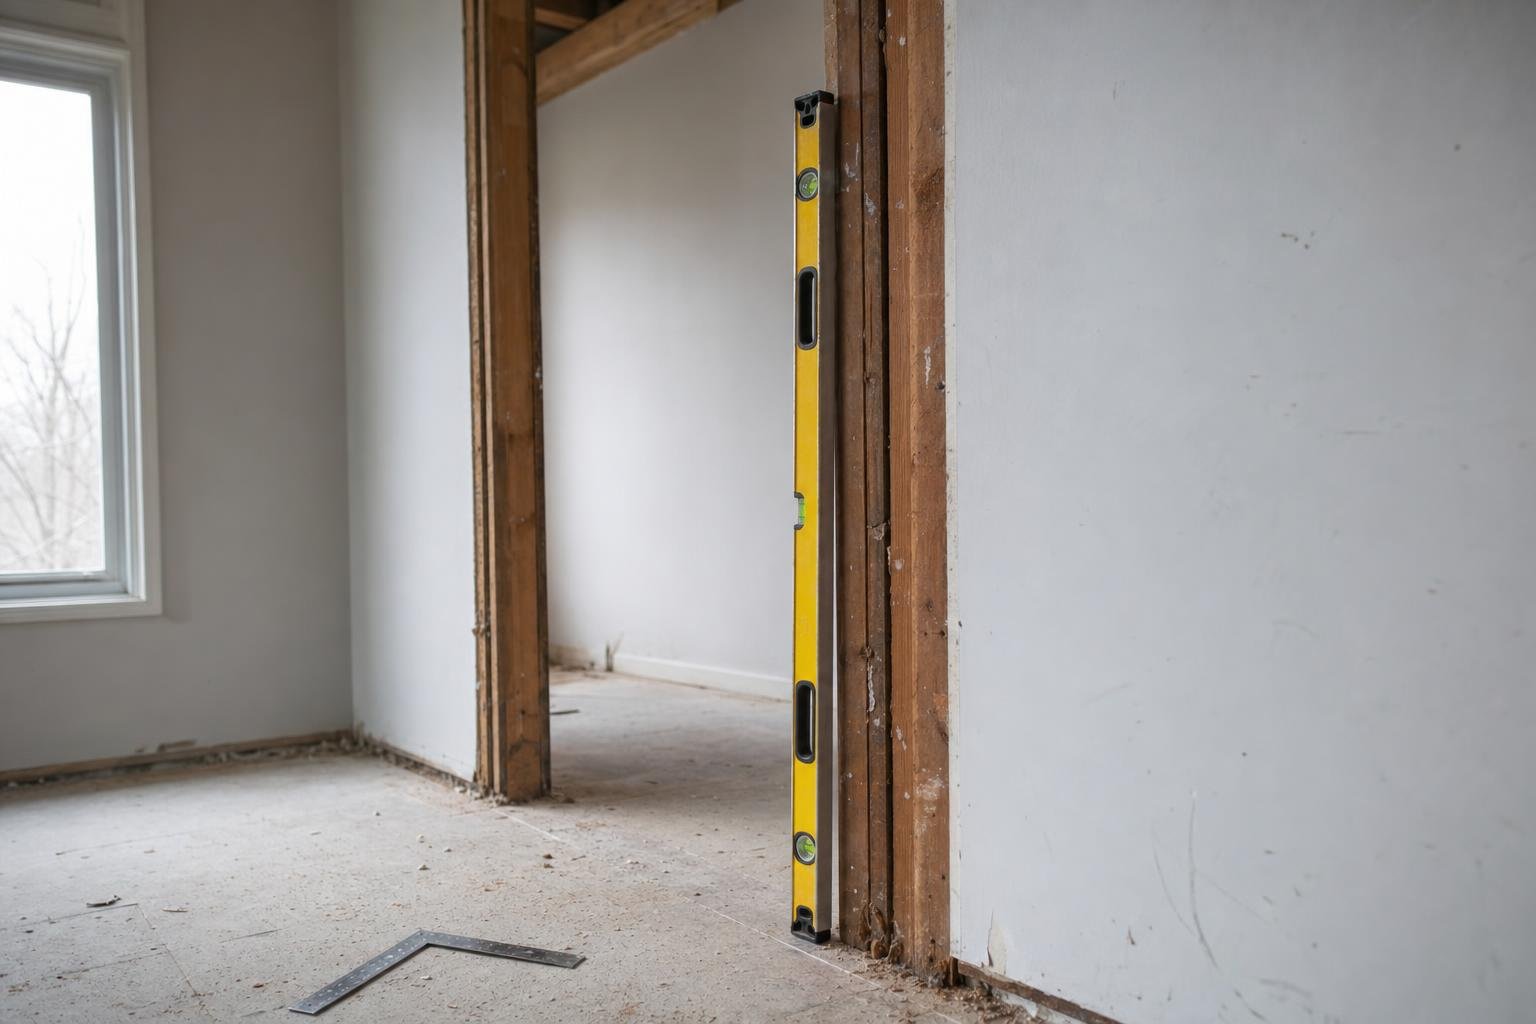
Tolerances vary by product, so treat these figures as examples. The Home Depot guide suggests matching diagonals and notes typical allowable deviations of about 1/4 inch (6 mm) for square and 1/8 to 1/4 inch (3 to 6 mm) for level and plumb. Upstate Door recommends roughly 1/2 inch (13 mm) of shim space on each side and 3/4 inch (19 mm) above. Always defer to your own door tolerance.
Step 3: Measure the Width
Hook your tape on one stud face and measure across to the opposite stud at the top, middle and bottom. Write all three down and use the smallest. This protects you from a bow or taper you cannot see by eye. In masonry openings, measure the brick-to-brick reveal rather than a plastered face, again at several heights.
Step 4: Measure the Height
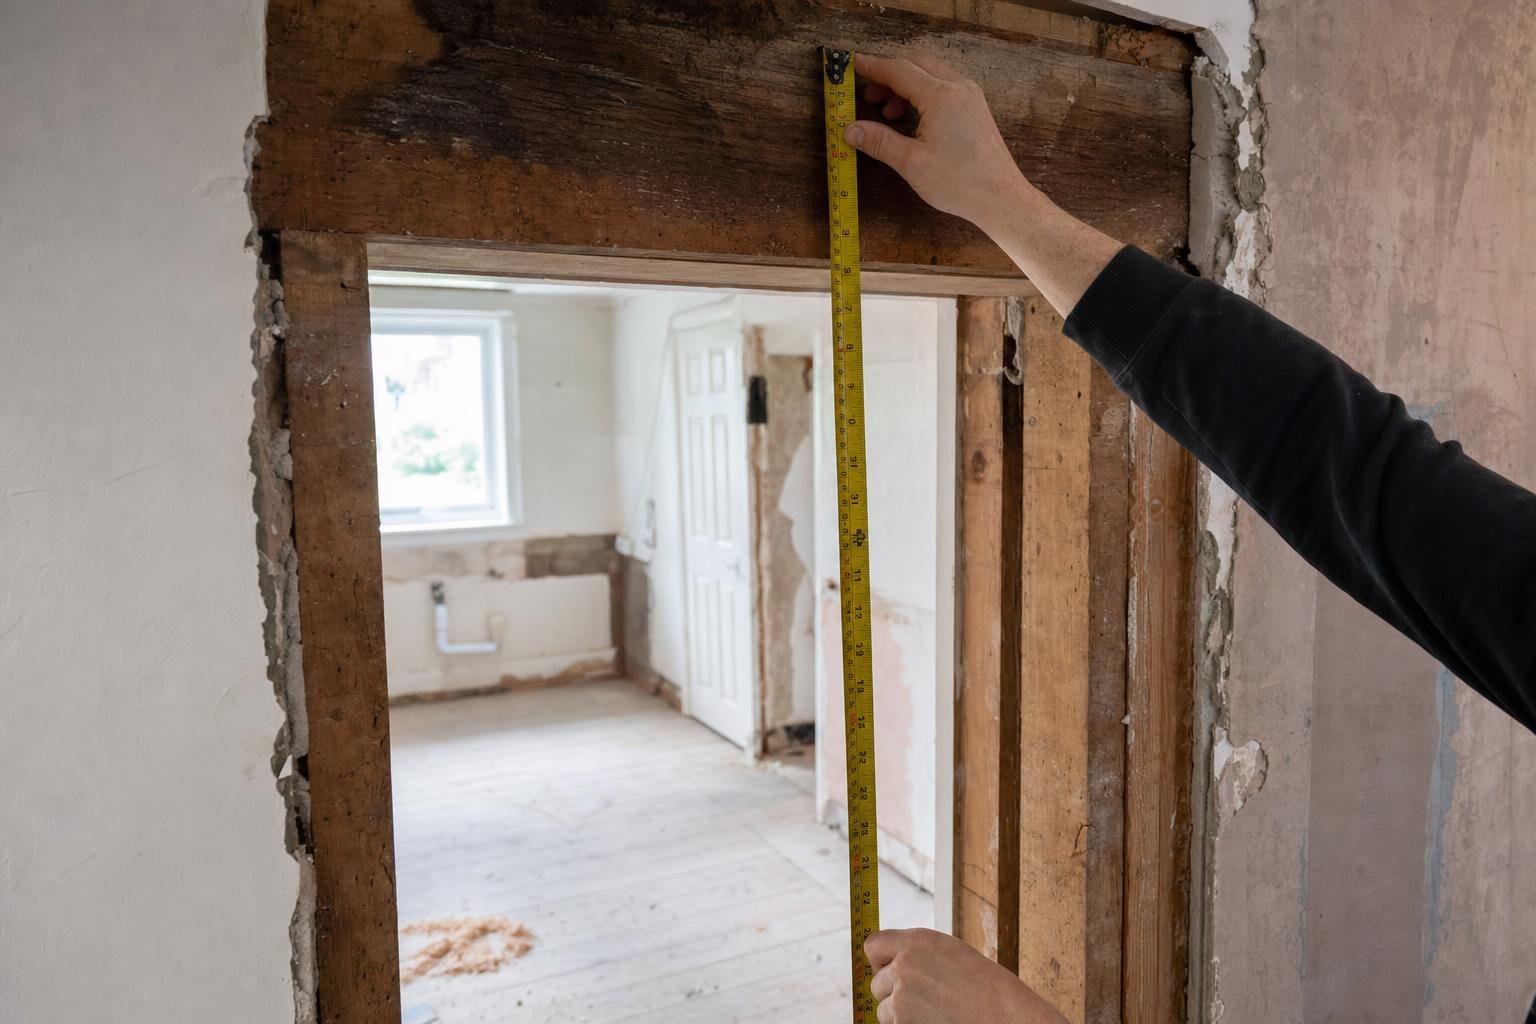
Measure from the subfloor to the underside of the header at the left, centre and right, and record the smallest figure. If finished flooring is already down, note the clearance the door needs to swing over it. If flooring is coming later, measure from the subfloor and add the planned floor build-up according to your manufacturer’s guidance.
Exterior doors add another layer. Pella’s guidance calls for sealant or pan flashing on the sill and confirms that the door must be set square and plumb. Flashing and sill details can affect the height you plan for, and Masonite’s common rough opening sizes still vary by product.
Also Read : 10 Cozy Home Decor Ideas for Busy Moms
Step 5: Measure Wall Thickness and Jamb Depth
The frame or lining has to match your wall’s finished thickness, from plasterboard face to plasterboard face. Measure this so you can choose the correct jamb depth or plan an extension jamb.
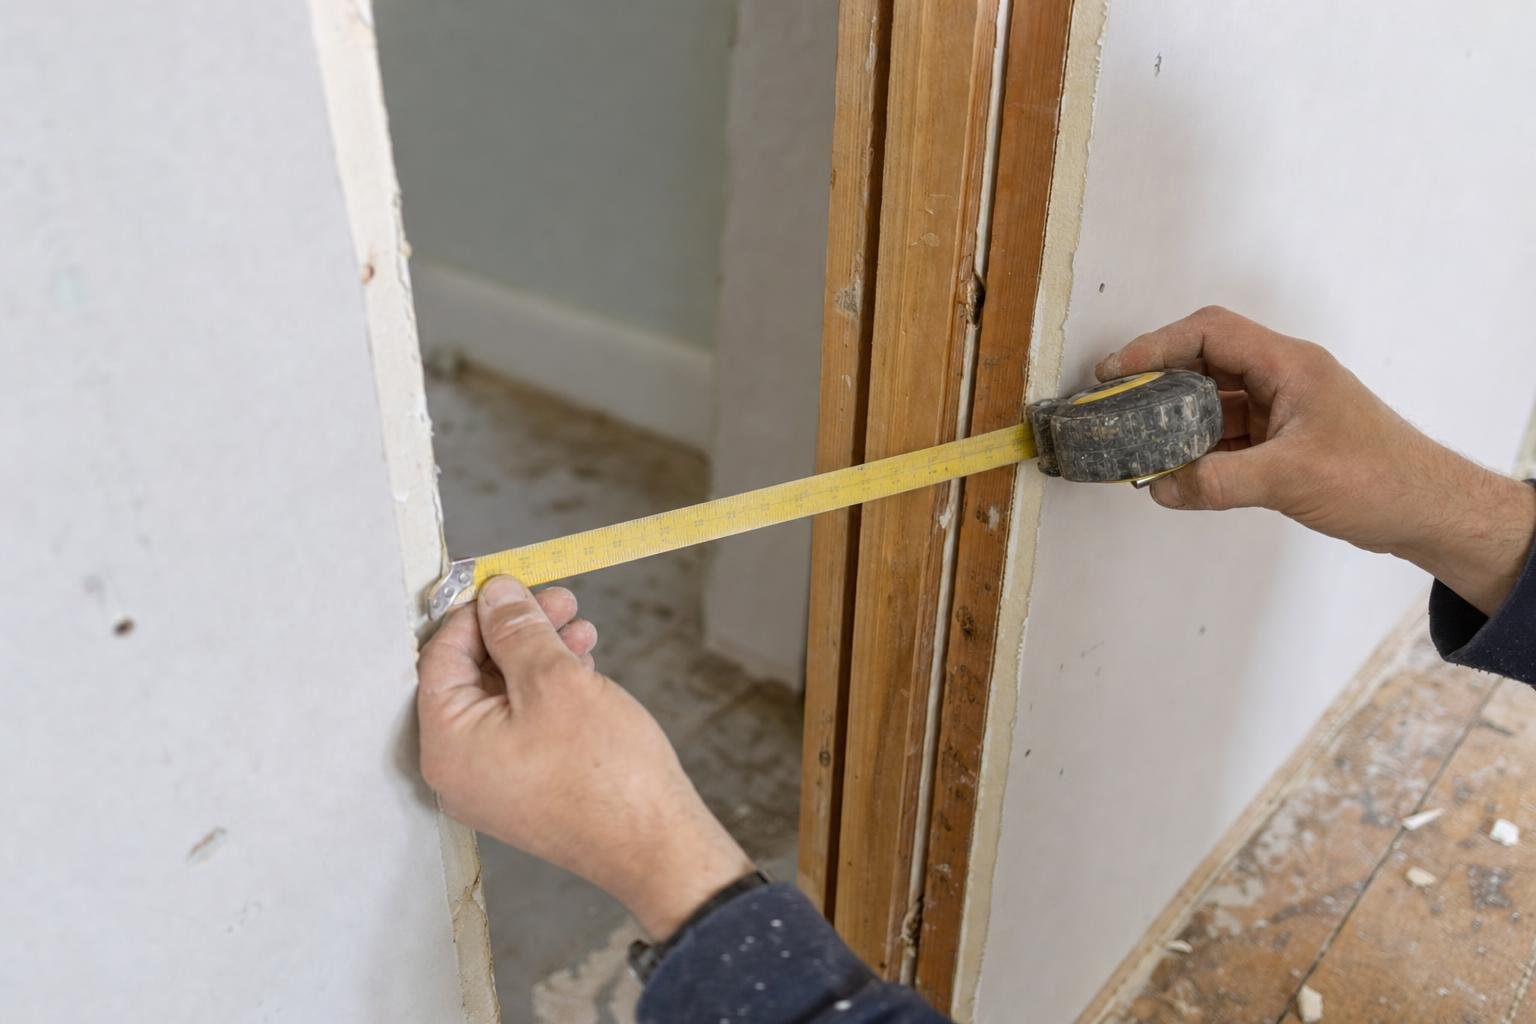
The Home Depot guide maps common walls to jamb depths as a reference: a 2×4 wall to a 4-9/16 inch (116 mm) jamb, and a 2×6 wall to a 6-9/16 inch (167 mm) jamb. If your wall is thicker than the jamb supplied, use an extension jamb, but confirm the exact depth before ordering.
Step 6: Estimating Size for New Framing
If you are framing from scratch, the examples above are starting points only. The Home Depot example adds about 2 inches to width and 2-1/4 inches to height for a prehung interior door. A UK retailer article offers a comparable method: add roughly 2 inches (51 mm) width and 2.5 inches (64 mm) height to a slab.
Kits are more specific. Howdens’ pocket-door documentation gives a worked example where a 1981 x 762 mm door needs an opening of about 2071 mm high and 1554 mm wide for the PDK3 cassette. Pocket and bifold systems follow their own tables, not a general rule.
Step 7: Interior Versus Exterior Considerations
Interior doors are relatively forgiving. Exterior entries carry a sill, weatherstripping and often pan flashing, all of which affect your height figure and how the threshold sits.
Threshold height is worth checking against accessibility guidance where it applies. UK Approved Document M states that raised thresholds at accessible entrances should be no more than 15 mm high in total. US ADA guidance limits thresholds at accessible doors to a maximum of 1/2 inch, with beveling above 1/4 inch. Confirm what applies before ordering.
Step 8: Non-Standard or Out-of-Square Openings
Not every opening is tidy. Options for awkward ones include wider linings, extension jambs, a planned shimming strategy, or ordering a made-to-measure unit.
For UK slab doors that need trimming, allowances vary by brand. JELD-WEN notes typical allowances on some standard interior doors of about 4 mm in width and 6 mm at the bottom, while a UK retailer offers generic 5 mm-per-side advice. Confirm the exact lipping and trimming allowance before cutting anything.
Step 9: Record and Double-Check
Write your readings in a simple, repeatable format so nothing gets lost between measuring and ordering:
- Width: top / middle / bottom (record smallest)
- Height: left / centre / right (record smallest)
- Wall thickness and chosen jamb or lining depth
- Plumb, level and square status, plus diagonal difference
- Flooring build-up allowance, if flooring is not yet down
- Handing and swing direction
Common Mistakes to Avoid
A few errors show up again and again: measuring the old door instead of the opening, forgetting flooring thickness, ordering the wrong jamb depth, assuming a universal formula, skipping plumb and level checks, and mixing up handing.
Measure Once, Order Right
Accurate measuring comes down to a short routine: measure width and height at three points and keep the smallest, confirm the opening is plumb, level and square, and match your jamb or lining to the wall thickness. Treat any sizing formula as brand-specific, and check accessibility thresholds if they are relevant.
Do that groundwork and ordering becomes simpler. Your figures will reflect the real opening, the correct depth, and the finished floor, which is exactly what a supplier needs to send you a door that fits.